Follow Me On Social Media!

Old-Fashioned Candy: Grandma’s Irresistibly Sweet Christmas Treat
Introduction to The Old-Fashioned Candy My Grandma Always Made for Christmas
There’s something undeniably magical about old-fashioned candy that transports you straight to warm and cozy family gatherings, echoing with laughter and love. My grandma had a knack for making candies during the holiday season that not only filled our home with sweet aromas but also brought family members together around the kitchen table, sharing stories and recipes.
As a kid, I remember the thrill of unwrapping each homemade candy, a special treat that was as much a part of our family’s Christmas traditions as decorating the tree or baking cookies. The kitchen would be buzzing with excitement, filled with the sounds of clattering pots and the gentle hum of Christmas carols. It wasn’t just about the candy itself; it was about the love and tradition infused into each batch. Armed with her trusty recipe book and a few secret ingredients, grandma would turn simple components into something truly extraordinary.
Being a part of this annual tradition instilled a sense of belonging and joy in me. I can still picture grandma teaching me how to stir the bubbling mixture, encouraging me to be patient as we waited for the candy to set. The anticipation of tasting the first piece made it all the more special. When I taste that old-fashioned candy today, it brings back memories—not only of flavor but of family ties that strengthen with each bite.
In this recipe article, I’m excited to share how you can bring this unique Christmas candy into your own home. You’ll discover the delightful ingredients and time-honored techniques that my grandma passed down to me, perfect for creating your own precious holiday memories. After all, there’s nothing quite like sitting around with your loved ones, sharing a piece of history—one sweet bite at a time.
A Sweet Memory of Family Gatherings
The joy of making and sharing old-fashioned candy isn’t just confined to the kitchen. It exudes warmth that permeates through holiday gatherings. Each piece evokes laughter, heartwarming stories, and the bonds that grew stronger with every batch we prepared together. As you embark on this sweet journey, I hope the recipe can become a cherished part of your own holiday tradition, just as it has been for my family.

Key Ingredients for The Old-Fashioned Candy My Grandma Always Made for Christmas
The charm of old-fashioned candy lies in its simplicity and nostalgia, often bringing memories of cozy holidays spent with family. This beloved recipe, passed down through generations, encapsulates the warmth and sweetness of Christmas traditions.
-
Sugar: A foundational ingredient, sugar gives this candy its delightful sweetness. Using granulated sugar allows it to dissolve seamlessly, ensuring that every piece has the perfect amount of sweetness without being overpowering.
-
Corn Syrup: This is essential for achieving the candied texture we all adore. It helps prevent the sugar from crystallizing, creating a smooth, glossy finish that adds to the holiday cheer.
-
Peanuts: Whether you prefer salted or unsalted, peanuts add a satisfying crunch and a nutty flavor that balances the sweetness. They truly make this candy unforgettable!
-
Butter: A slice of butter adds richness and depth to the candy. It not only enhances the flavor but also contributes to that melt-in-your-mouth texture.
-
Chocolate Chips: For an extra layer of indulgence, mixing in chocolate chips creates a lovely contrast with the sweetness of the candy. They can be dark, milk, or semi-sweet, depending on your preference.
Each ingredient plays a vital role, creating not just candy, but a cherished memory that comes alive every holiday season.
Why You’ll Love This Recipe
Comforting and Nostalgic Flavor
There’s something about old-fashioned candy that brings back the warmth of holiday gatherings and cherished family traditions. This sweet treat was a staple during Christmas at my grandma’s house, where the aroma of sugar and spices filled the air as she crafted these delightful bites. Each piece we shared felt like a memory wrapped in sweetness, creating a comforting sense of nostalgia that transcends generations.
The beauty of this recipe lies in its simplicity. With just a handful of ingredients, you’ll create candy that not only tantalizes the taste buds but also tugs at the heartstrings. Imagine unwrapping a piece of candy and being transported back to your childhood, surrounded by laughter and love.
This old-fashioned candy is perfect for gifting or sharing with friends, making it an ideal addition to your holiday celebrations. You’ll love how easy it is to make, yet it carries that rich, homemade essence that everyone will appreciate. Not only will it fill your home with a cozy holiday spirit, but it also offers a tangible connection to the past. Give it a try, and you might find that this candy becomes a cherished staple in your own holiday traditions.
Tips for Making The Old-Fashioned Candy My Grandma Always Made for Christmas
Cherishing the tradition of old-fashioned candy can transport you back to joyful Christmas mornings filled with sweet aromas and laughter. Making this candy is not just about following a recipe; it’s about creating memories, much like those I have of helping my grandma in the kitchen as a child. These tips will help you bring her spirit into your own kitchen.
Achieving the Perfect Crunch and Chew
-
Use Quality Ingredients: The best results come from using high-quality ingredients—fresh nuts, pure extracts, and good chocolate. They elevate the flavor and texture of your old-fashioned candy, providing a nostalgic taste that’s unforgettable.
-
Watch the Temperature: Candy-making is all about precision. Keep a candy thermometer handy to ensure you reach the correct temperatures for different stages of cooking. For that ideal crunch and chewy texture, you’ll want to hit the sweet spot between soft ball and hard crack stages.
-
Patience is Key: Allow the mixture to cool before spreading it out on parchment paper. This helps maintain a consistent texture, giving your candy that satisfying crunch on the outside and chewiness on the inside.
-
Storing Wisely: Once your old-fashioned candy is set, store it in an airtight container in a cool place. This prevents any moisture from ruining that delightful crunch.
These simple tips, passed down from my grandma, will help you recreate the magic of her kitchen this Christmas. Happy candy-making!
Time Details for The Old-Fashioned Candy My Grandma Always Made for Christmas
When it comes to creating cherished memories around the holidays, the old-fashioned candy my grandma always made for Christmas tops the list. This candy not only filled our home with sweetness but also brought everyone together, sharing stories and laughter.
Preparation time
Setting aside about 20 minutes for preparation is perfect. This is when you’ll gather ingredients, measure them out, and get everything ready for cooking.
Baking time
The actual baking takes a swift 15 minutes. It’s amazing how quick the transformation happens as the aroma fills the kitchen.
Total time
In just about 35 minutes, you’ll have this nostalgic treat ready to share with family and friends. You’ll feel the warmth of holiday spirit in every bite!
Nutritional Information for The Old-Fashioned Candy My Grandma Always Made for Christmas
While reminiscing about the old-fashioned candy my grandma made every Christmas, it’s hard to ignore the deliciousness wrapped in those sweet treats. Here’s a closer look at the nutritional content, ensuring you can savor every bite with a bit of awareness.
Calories
One serving of this old-fashioned candy typically contains around 150 calories. This delicious treat is perfect for enjoying in moderation during the festive season.
Protein
With just 1 gram of protein per serving, this candy focuses more on the sweet side. It’s not a nutritional powerhouse, but it surely brings joy to the holiday table!
Sodium
Stay mindful of your sodium intake, as this candy has approximately 25 mg of sodium per serving. It’s a delightful indulgence that doesn’t quite tip the scale on saltiness.
Enjoy the nostalgia and charm in every bite of this culinary gem!
FAQs about The Old-Fashioned Candy My Grandma Always Made for Christmas
The delightful memories of making old-fashioned candy at Christmas with my grandma are some of my fondest. As we stirred and created these nostalgic treats, many questions popped up, and I’d love to answer a few common ones you might have too.
Can I substitute any ingredients in this recipe?
Absolutely! While the recipe calls for specific ingredients to capture that nostalgic flavor, you can make some swaps:
- Nuts: If you dislike walnuts, try pecans or even omit nuts altogether.
- Flavor Extracts: Almond extract can work well instead of vanilla if you’re looking for a different taste.
- Sweeteners: Coconut sugar can replace granulated sugar for a slightly different sweetness.
How can I store leftovers effectively?
Storing your old-fashioned candy is simple to maintain its freshness. Follow these tips:
- Cool Completely: Ensure the candy is fully cooled before storing.
- Airtight Containers: Use airtight containers to prevent moisture and keep the flavors intact.
- Refrigeration: For longer shelf life, store in the refrigerator, but let it come to room temperature before enjoying.
What other toppings can I use?
Getting creative with toppings can elevate your old-fashioned candy. Here are some tasty suggestions:
- Sprinkles: Colorful sprinkles add a festive touch for the holidays.
- Coconut Flakes: For a tropical twist, sprinkle unsweetened coconut flakes.
- Chocolate Shavings: A sprinkle of chocolate shavings can enhance sweetness and decadence.
Remember, this candy is all about personalization, so don’t hesitate to experiment!
Conclusion on The Old-Fashioned Candy My Grandma Always Made for Christmas
In crafting the old-fashioned candy my grandma always made for Christmas, it’s not just about the delectable treats but the heartwarming memories that come with them. Each bite transports me back to cozy kitchen afternoons filled with laughter, loved ones, and the tantalizing aroma of sugar and spices. Making this candy becomes an annual tradition, a way to honor family legacy while spreading joy to friends and neighbors. So, whether you’re diving into this recipe for the first time or it’s a cherished yearly ritual, I hope it brings sweetness to your holiday season and creates lasting memories of your own.
Print
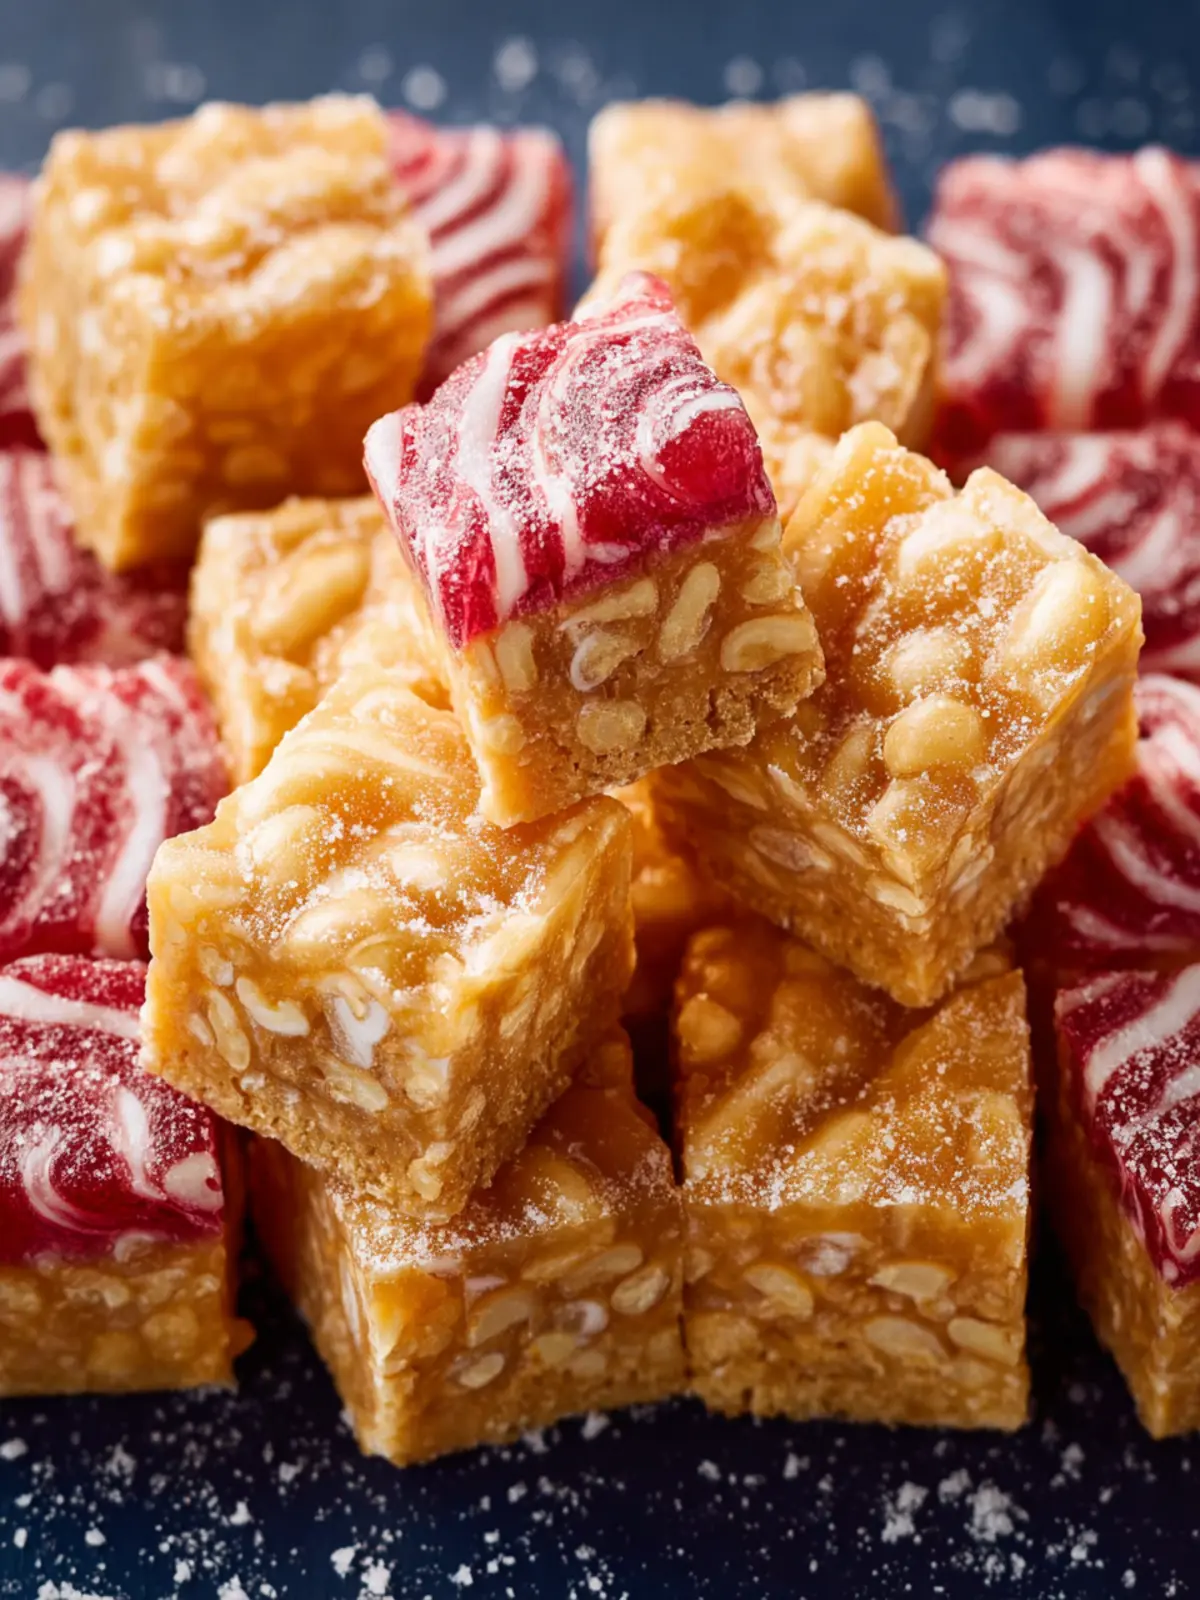
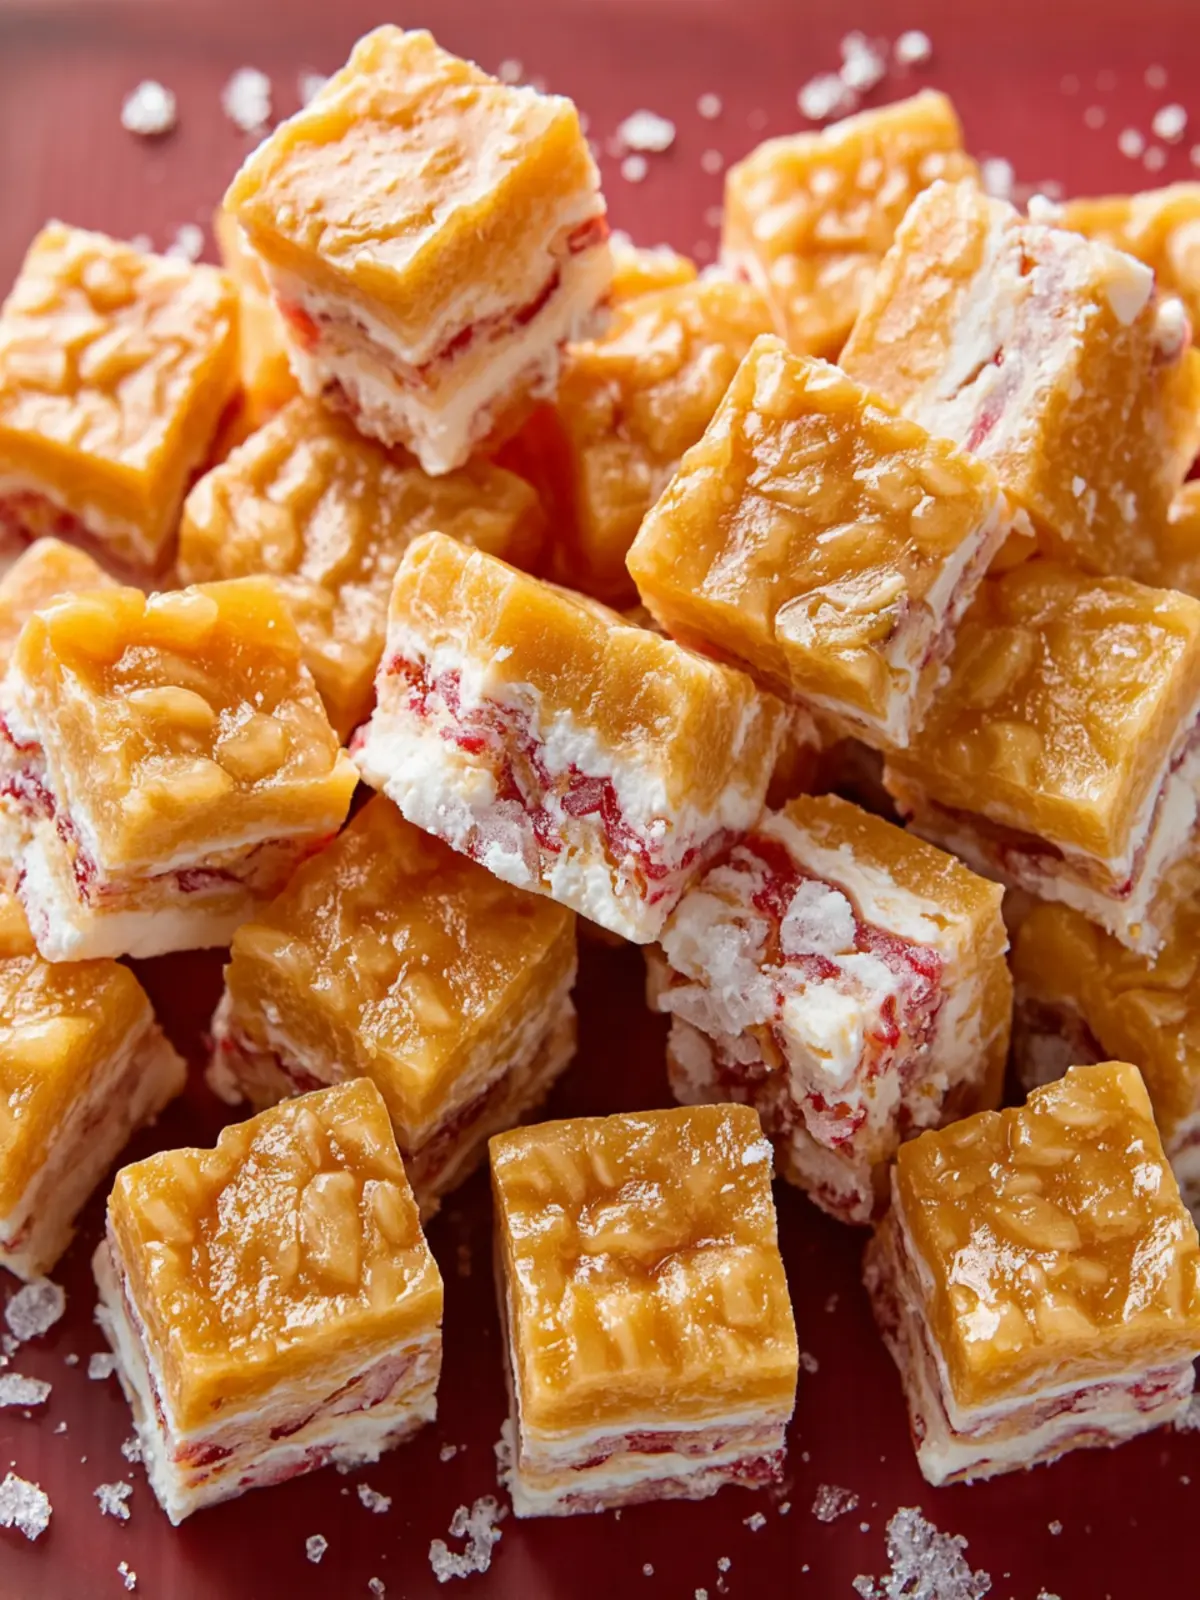
Butterscotch Marshmallow Bars
- Total Time: 1 hour 35 minutes
- Yield: 24 pieces 1x
- Diet: vegetarian
Description
Delicious butterscotch marshmallow bars with a crunchy rice cereal topping.
Ingredients
Scale
- 1 nonstick cooking spray
- 1 (13 to 15) box yellow cake mix
- 8 tablespoons unsalted butter, melted, plus 4 tablespoons cold unsalted butter cut into 4 pieces, divided
- 1 large egg, lightly beaten
- 3 cups mini marshmallows
- 1 (11 to 12-ounce) bag butterscotch chips
- 2/3 cup light corn syrup
- 2 cups lightly salted dry-roasted peanuts
- 2 cups Rice Krispies cereal
Instructions
- Place a rack in the middle of the oven. Make a foil sling for a 9 x 13-inch metal baking pan. Lay 2 sheets of foil in the pan perpendicular to each other, with extra foil hanging over the edges of the pan. Push the foil into the corners and up the sides of the pan. Grease the foil with cooking spray.
- In a medium bowl, stir together the cake mix, melted butter, and egg until combined. Using greased hands, press the mixture evenly into the bottom of the prepared pan and bake until golden brown, 10 to 12 minutes.
- Sprinkle the marshmallows evenly over the warm crust and bake until melted, about 3 minutes.
- While the marshmallows melt, in a large saucepan melt the butterscotch chips, corn syrup, and the remaining 4 tablespoons of cold butter over medium heat until the chips are completely melted, 5 to 7 minutes. Stir the mixture frequently as it melts. Remove from the heat. Gently stir in the peanuts and cereal until fully coated with the butterscotch mixture.
- While the crust and marshmallows are still warm, dollop the cereal mixture over the melted marshmallows in an even layer. Let the bars sit at room temperature until set, about 1 hour and 30 minutes.
- Using the foil overhang, lift the bars out of the pan and transfer to a cutting board. Cut into 24 pieces. Serve. Store the bars in an airtight container at room temperature for up to 3 days.
Notes
- Love the recipe? Leave us stars and a review below!
- Prep Time: 15 minutes
- Cook Time: 20 minutes
- Category: dessert
- Method: baking
- Cuisine: American
Nutrition
- Serving Size: 1 piece
- Calories: 180
- Sugar: 12g
- Sodium: 90mg
- Fat: 7g
- Saturated Fat: 3.5g
- Unsaturated Fat: 2g
- Trans Fat: 0g
- Carbohydrates: 28g
- Fiber: 0.5g
- Protein: 2g
- Cholesterol: 10mg